
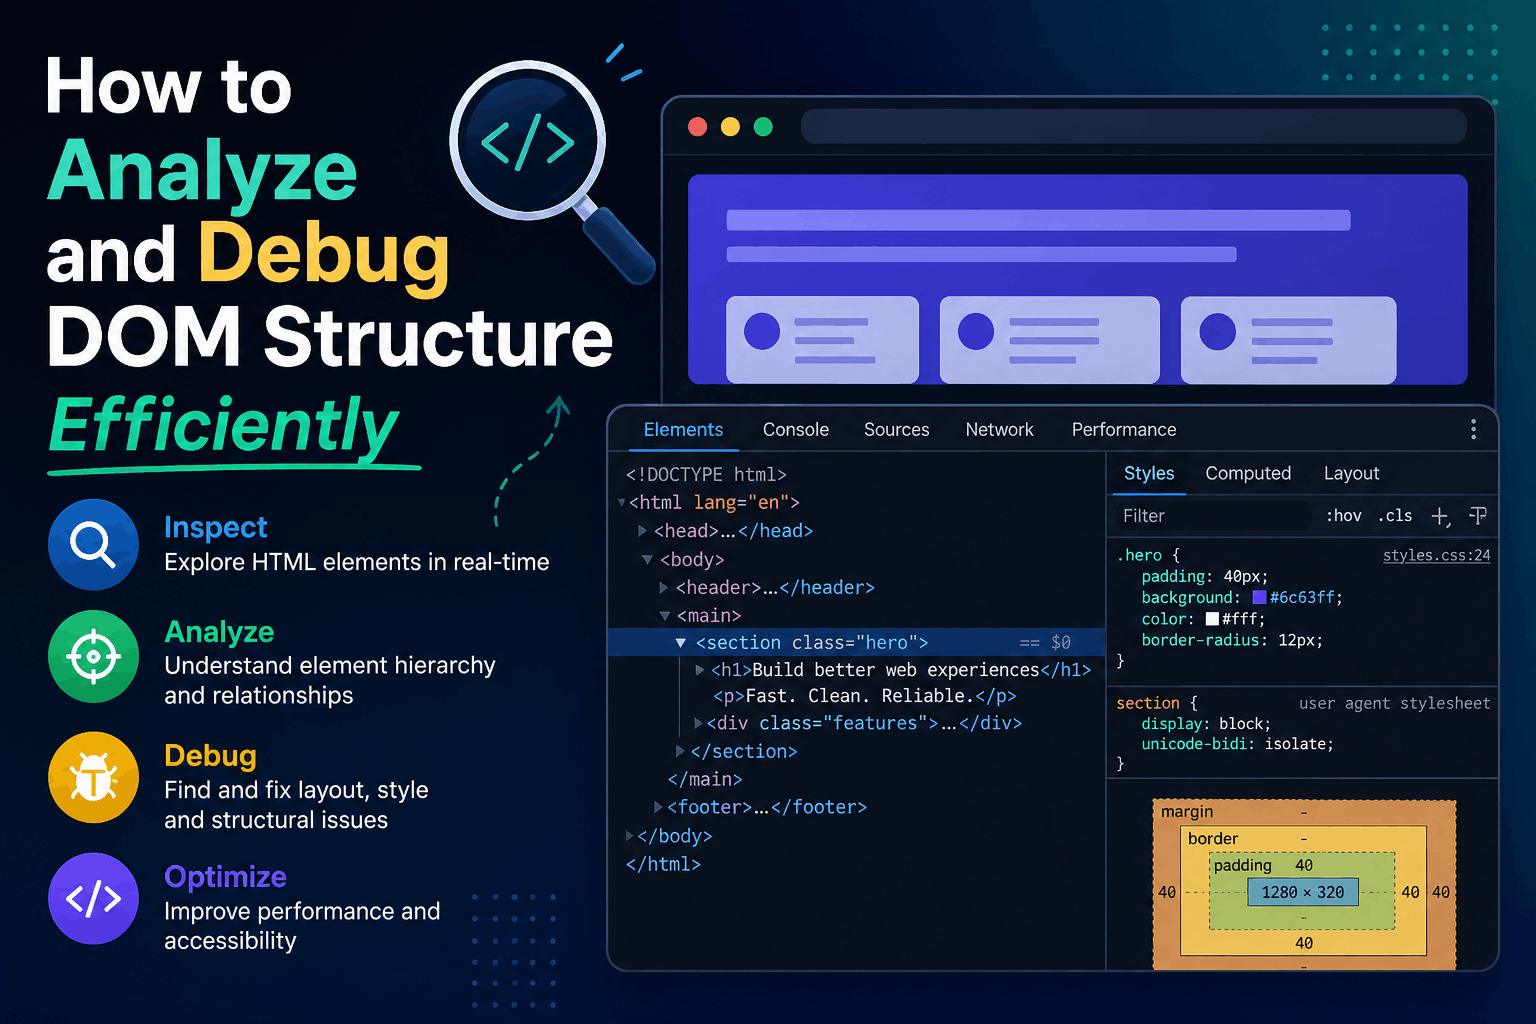
How to Analyze and Debug DOM Structure Efficiently
When a webpage looks wrong or an interaction stops working, the visible symptom does not always reveal the underlying cause.
A missing button might actually be:
- Hidden by CSS
- Positioned outside the viewport
- Covered by another element
- Rendered inside an iframe
- Located inside a shadow root
- Removed by JavaScript
- Replaced during a framework update
- Excluded by a failed conditional render
Similarly, a button that does not respond may have a perfectly correct DOM structure while the actual problem exists in event propagation, application state, JavaScript execution, or an invisible overlay.
Efficient DOM debugging therefore requires a structured process:
- Reproduce the issue.
- Find the live element.
- Verify the actual DOM hierarchy.
- Inspect computed styles and geometry.
- Test selectors.
- Inspect event behavior.
- Monitor dynamic changes.
- Check frameworks, shadow DOM, and iframes.
- Validate the fix without creating regressions.
This guide explains how to perform each step using browser DevTools and small diagnostic commands.
What Is the DOM?
The Document Object Model, or DOM, is the browser’s in-memory representation of a document.
Given this HTML:
<main id="app">
  <h1>Products</h1>
  <button type="button">Load more</button>
</main>
The browser creates a node hierarchy conceptually similar to:
Document
└── html
    └── body
        └── main#app
            ├── h1
            └── button
JavaScript can inspect and modify this structure:
const heading = document.querySelector("h1");

heading.textContent = "Featured products";
The DOM provides programming interfaces for documents, nodes, elements, events, and tree traversal.
Source HTML and the Live DOM Are Different
One of the most important debugging principles is:
The HTML sent by the server is not necessarily the DOM currently displayed in DevTools.
The live DOM may differ because:
- The HTML parser corrected invalid markup
- JavaScript inserted or removed elements
- A framework rendered components
- Browser extensions modified the page
- A custom element created shadow content
- Client-side hydration replaced or updated nodes
- User interactions changed the interface
View Source
“View Source” normally shows the original HTML response.
Elements panel
The Elements panel shows the current DOM after browser parsing and runtime modifications.
When debugging a live interface problem, begin with the Elements panel. Compare it with the original response only when you need to determine where a difference was introduced.
DOM, CSSOM, Layout, and Accessibility Trees
The browser maintains several related representations.
DOM
Represents document nodes and their hierarchy.
CSSOM
Represents parsed stylesheets and CSS rules.
Layout information
Describes element geometry, such as size and position.
Accessibility tree
Represents information exposed to assistive technologies.
These structures are related but not identical.
For example:
- A DOM element can exist without being visible.
- Generated
::beforecontent can appear visually without being a normal DOM child. - An element can be excluded from the accessibility tree.
- An element with
display: nonedoes not create a normal layout box. - A transformed element can appear somewhere different from its original layout position.
This is why DOM inspection alone cannot explain every visual or accessibility problem.
Step 1: Reproduce the Problem Consistently
Before inspecting code, define the exact failure.
Record:
- Page URL
- Browser and version
- Viewport size
- Authentication state
- User actions
- Input values
- Expected result
- Actual result
Example:
Starting page: /products
Viewport: 390 × 844
Action: Open filters, select “In stock,” then close filters
Expected: Product cards remain clickable
Actual: Cards appear correctly but no longer respond to clicks
A reliable reproduction prevents you from debugging a different problem accidentally.
Also determine whether the issue occurs:
- On every reload
- Only after navigation
- Only on mobile
- Only when authenticated
- Only after an API response
- Only after opening or closing a component
- In one browser or all browsers
Step 2: Find the Live Element
Right-click the visible area and select Inspect.
Alternatively, activate the element picker in DevTools and select the element directly.
Chrome’s Elements panel lets developers inspect and edit the live DOM and associated styles.
If the element cannot be selected
Possible causes include:
- Another element covers it
- It exists inside an iframe
- It is rendered in a shadow root
- It is generated by a pseudo-element
- It disappears before inspection
- It is not rendered at all
- It has zero dimensions
Use the DOM search feature:
Ctrl + For on macOS:
Command + FSearch by:
- Text content
- ID
- Class
- Element name
- CSS selector
- XPath
Examples:
#checkout-button[data-testid="checkout"]button[type="submit"]Step 3: Confirm You Selected the Correct Element
Pages can contain several visually similar elements.
For example:
- Desktop and mobile navigation
- Hidden modal templates
- Duplicate buttons
- Skeleton-loading placeholders
- Server-rendered and hydrated versions
- Off-screen carousel slides
Check:
- Tag name
- Text
- ID
- Classes
- Data attributes
- Ancestors
- Position in the document
- Computed dimensions
In the Console, $0 refers to the currently selected element in Chromium DevTools:
$0Inspect its outer markup:
$0.outerHTMLCheck whether it is connected to the current document:
$0.isConnectedCheck its dimensions:
$0.getBoundingClientRect()$0 is a DevTools convenience variable, not a standard JavaScript API for production code.
Step 4: Inspect the Parent-Child Hierarchy
Move upward and downward through the Elements tree.
Ask:
- Is the element inside the expected component?
- Is a required parent missing?
- Did an unexpected wrapper appear?
- Is the element inside a form?
- Is it nested inside another interactive element?
- Is it located under the wrong application root?
- Did a modal render elsewhere through a portal?
- Is a list item outside its intended list?
Example of invalid nesting
<p>
  Introductory text
  <div>Additional content</div>
</p>
A div cannot be a normal child of a paragraph. The HTML parser may implicitly close the paragraph before inserting the div.
The live DOM can therefore differ from the indentation in the source file.
Validate HTML when necessary
An HTML validator can help identify:
- Invalid nesting
- Duplicate IDs
- Missing required attributes
- Invalid element relationships
- Obsolete markup
The Nu HTML Checker is available for validating HTML documents.
Validation will not catch every application bug, but it can explain browser parser corrections.
Step 5: Check for Duplicate IDs
An ID is intended to identify one element within a document.
Find duplicate IDs with:
const elementsWithIds = [
  ...document.querySelectorAll("[id]")
];

const counts = new Map();

for (const element of elementsWithIds) {
  counts.set(
    element.id,
    (counts.get(element.id) || 0) + 1
  );
}

const duplicates = [...counts.entries()]
  .filter(([, count]) => count > 1);

console.table(duplicates);
Duplicate IDs can create ambiguity for:
- CSS selectors
- Label associations
- Fragment navigation
- Accessibility relationships
- JavaScript lookups
- Automated tests
A browser may still return an element for:
document.getElementById("checkout");But relying on which duplicate is returned makes the code fragile.
Use IDs only when uniqueness is guaranteed. Use classes or data attributes for repeated components.
Step 6: Determine Whether the Element Is Actually Visible
An element can exist in the DOM without being visible.
Inspect the Computed and Styles panes for properties such as:
display: none;
visibility: hidden;
opacity: 0;
Also inspect:
position
inset
top
right
bottom
left
z-index
overflow
clip-path
transform
width
height
max-width
max-height
pointer-events
Common visibility problems
No layout box
display: none;The element does not participate in normal layout.
Invisible but still occupies space
visibility: hidden;The element’s layout space generally remains.
Fully transparent
opacity: 0;The element can still occupy space and may still receive pointer events.
Positioned outside the viewport
position: absolute;
left: -10000px;
Clipped by an ancestor
.container {
  overflow: hidden;
}
Zero dimensions
width: 0;
height: 0;
Covered by another element
An overlay with a higher stacking position may sit above the visible control.
Chrome DevTools provides CSS inspection and computed-style tools for identifying which declarations affect an element.
Step 7: Inspect Geometry
Use getBoundingClientRect():
const rect = $0.getBoundingClientRect();

console.table({
  top: rect.top,
  left: rect.left,
  right: rect.right,
  bottom: rect.bottom,
  width: rect.width,
  height: rect.height
});
This can reveal that an element is:
- Outside the viewport
- Zero pixels wide
- Zero pixels high
- Moved by a transform
- Partially clipped
- Positioned under another component
To identify which element is at a screen coordinate:
document.elementFromPoint(200, 300)If the expected button is at that location but elementFromPoint() returns an overlay, the overlay is intercepting pointer input.
To inspect all elements at a coordinate:
document.elementsFromPoint(200, 300)This is useful for debugging:
- Modals
- Dropdowns
- Sticky headers
- Backdrops
- Invisible blockers
- Stacking-context problems
Step 8: Test the Selector Independently
If JavaScript cannot find an element, test the exact selector in the Console.
document.querySelector(".checkout-button")Count all matches:
document.querySelectorAll(
  ".checkout-button"
).length
Inspect the result:
console.dir(
  document.querySelector(".checkout-button")
);
Common selector problems
- Typo in a class name
- Missing
#for an ID - Missing
.for a class - Selector evaluated in the wrong document
- Element located inside an iframe
- Element located inside shadow DOM
- Element not rendered yet
- Element already removed
- Class generated dynamically
- Selector matches a hidden duplicate
Scope the query
Instead of searching the entire document:
document.querySelector(".remove-button")Search within the relevant component:
const cart = document.querySelector("#cart");

const removeButton = cart.querySelector(
  ".remove-button"
);
Scoping improves clarity and reduces accidental matches.
Step 9: Check When the Query Runs
This can return null:
const button = document.querySelector(
  "#checkout-button"
);
Possible reasons include:
- The script runs before the HTML is parsed
- The component renders later
- Data has not arrived
- The current route does not include the element
- The element exists only after interaction
Prefer deferred scripts
Instead of relying on a DOMContentLoaded wrapper everywhere, load ordinary scripts with defer when appropriate:
<script src="/app.js" defer></script>A deferred script downloads while parsing continues and executes after the document has been parsed.
Module scripts are deferred by default:
<script type="module" src="/app.js"></script>Why DOMContentLoaded is not a universal fix
This code works only when registration happens before the event fires:
document.addEventListener(
  "DOMContentLoaded",
  initialize
);
If a script is dynamically loaded after DOMContentLoaded, that listener will never run.
A safer reusable pattern is:
function initialize() {
  // Find elements and attach behavior.
}

if (document.readyState === "loading") {
  document.addEventListener(
    "DOMContentLoaded",
    initialize,
    { once: true }
  );
} else {
  initialize();
}
In framework applications, use the framework’s rendering and lifecycle model instead of manually waiting for the whole document.
Step 10: Inspect Event Listeners
In Chrome DevTools, select an element and open the Event Listeners pane.
Check:
- Event type
- Handler location
- Whether it is attached to the element or an ancestor
- Capture or bubble phase
- Whether several listeners are registered
- Whether an old detached element holds the listener
Chromium DevTools also provides the non-standard console helper:
getEventListeners($0)This is useful during debugging but should not appear in application code.
Pause when an event fires
In the Sources panel:
- Expand Event Listener Breakpoints.
- Choose a category.
- Select an event such as
click. - Reproduce the problem.
DevTools pauses inside the responsible handler, letting you inspect:
- Call stack
- Event target
- Local variables
- Component state
- Function arguments
Chrome documents event-listener and other JavaScript breakpoints in its debugging guidance.
Step 11: Understand Event Propagation
Events can travel through different phases:
- Capture
- Target
- Bubble
Inside a handler:
container.addEventListener("click", event => {
  console.log(event.target);
  console.log(event.currentTarget);
});
event.target
The deepest element that initiated the event.
event.currentTarget
The element whose listener is currently running.
Confusing these values often causes event-delegation bugs.
Check whether propagation is stopped
A handler may call:
event.stopPropagation();or:
event.stopImmediatePropagation();This can prevent an ancestor’s handler from running.
Also check whether:
event.preventDefault();is suppressing default browser behavior such as navigation or form submission.
Step 12: Use Event Delegation Correctly
Event delegation attaches one listener to a stable ancestor rather than separate listeners to every current child.
Example:
const list = document.querySelector(
  "#product-list"
);

list.addEventListener("click", event => {
  const button = event.target.closest(
    "[data-action='remove']"
  );

  if (!button || !list.contains(button)) {
    return;
  }

  removeProduct(button.dataset.productId);
});
Using only:
event.target.matches(".remove-button")can fail when the user clicks a nested icon inside the button.
closest() finds the relevant ancestor.
Event delegation works well for:
- Dynamic lists
- Tables
- Menus
- Repeated cards
- Components that add children later
It should be attached to the narrowest stable ancestor rather than automatically using document.body.
Step 13: Check Whether Another Element Blocks Interaction
A button can be visible while another element receives the click.
Possible blockers include:
- Transparent modal backdrop
- Loading overlay
- Pseudo-element
- Fixed header
- Absolutely positioned container
- Element with a high stacking level
- Full-page analytics layer
Check the pointer target:
document.elementFromPoint(
  event.clientX,
  event.clientY
);
Also inspect:
pointer-events
z-index
position
transform
opacity
Remember that z-index is affected by stacking contexts. A very large z-index cannot escape an ancestor stacking context automatically.
Step 14: Monitor DOM Changes with DOM Breakpoints
If an element unexpectedly changes or disappears, pause JavaScript when the mutation occurs.
In the Elements panel:
- Right-click the relevant node.
- Select Break on.
- Choose a breakpoint type.
Available options include:
Subtree modifications
Pauses when descendant nodes are added or removed.
Attribute modifications
Pauses when attributes such as class, hidden, or aria-expanded change.
Node removal
Pauses when the selected element is removed.
When the change occurs, DevTools stops on the responsible JavaScript statement.
This is often the fastest way to find:
- Unexpected class removal
- Third-party DOM modification
- Components being deleted
- Repeated rerendering
- Attributes changing at the wrong time
Step 15: Use MutationObserver for Targeted Diagnostics
MutationObserver watches selected types of DOM changes.
Example:
const target = document.querySelector(
  "#checkout"
);

const observer = new MutationObserver(
  mutationRecords => {
    for (const mutation of mutationRecords) {
      console.log({
        type: mutation.type,
        target: mutation.target,
        addedNodes: [...mutation.addedNodes],
        removedNodes: [...mutation.removedNodes],
        attributeName: mutation.attributeName
      });
    }
  }
);

observer.observe(target, {
  childList: true,
  subtree: true,
  attributes: true
});
Stop observing after the investigation:
observer.disconnect();Use it carefully
Observing the entire document with every option enabled can generate large amounts of output and affect performance.
Prefer:
- A specific container
- Only necessary mutation types
- Short diagnostic sessions
- Explicit disconnection
MutationObserver tells you that the DOM changed. A DOM breakpoint is often better when you need the exact JavaScript call stack responsible.
Step 16: Inspect Pseudo-Elements
CSS can create visible content using:
.button::before {
  content: "★";
}
The star appears visually but is not a normal child returned by:
button.childrenInspect ::before and ::after entries in the Elements panel and check their computed styles.
Pseudo-elements can also block interactions if they cover another control and receive pointer events.
Step 17: Account for Shadow DOM
Web components can encapsulate markup inside a shadow root.
Example:
const host = document.querySelector(
  "user-profile"
);

console.log(host.shadowRoot);
A selector on document does not automatically cross the shadow boundary:
document.querySelector(
  "user-profile .edit-button"
);
That selector will not find an element inside an open shadow root.
Instead:
const host = document.querySelector(
  "user-profile"
);

const editButton = host.shadowRoot
  .querySelector(".edit-button");
A closed shadow root is intentionally less accessible from outside component code.
Shadow DOM affects:
- Selectors
- Events
- Styling
- Testing tools
- Accessibility
- Event retargeting
MDN documents how shadow trees provide encapsulation and how their elements are accessed.
Step 18: Check for Iframes
An iframe has a separate document.
A selector in the parent document will not search inside it:
document.querySelector(
  "#payment-card-number"
);
If the field is inside an iframe, you need the iframe’s document—provided same-origin rules allow access:
const frame = document.querySelector(
  "#payment-frame"
);

const frameDocument =
  frame.contentDocument;

const input = frameDocument.querySelector(
  "#card-number"
);
If the iframe comes from another origin, browser security rules normally prevent the parent page from directly reading its DOM.
Use:
- The iframe provider’s API
postMessage()communication- Supported testing-tool frame selection
- DevTools frame context
Never attempt to bypass same-origin protections.
Step 19: Understand Framework Rendering
Frameworks such as React, Vue, Angular, and Svelte manage DOM updates through their own rendering models.
A node may be:
- Created conditionally
- Reused
- Replaced
- Moved through a portal
- Hydrated from server HTML
- Removed during route changes
Avoid manual framework DOM manipulation
This pattern can conflict with framework state:
document
  .querySelector(".status")
  .textContent = "Complete";
If a framework controls the element, the next render may overwrite the manual change.
Update application state through the framework instead.
Use framework developer tools
Depending on the project, use:
- React Developer Tools
- Vue Devtools
- Angular DevTools
These tools expose component hierarchy, properties, state, and rendering behavior that the DOM alone cannot explain.
A virtual DOM is not an automatic performance fix
Framework abstractions can reduce some manual DOM work, but unnecessary component renders, unstable keys, large lists, and expensive effects can still cause performance problems.
Measure actual browser behavior instead of assuming a framework has optimized it.
Step 20: Check List Keys and Identity
Framework list bugs often look like DOM corruption.
Suppose a list uses array positions as keys:
items.map((item, index) => (
  <Row key={index} item={item} />
))
If rows are inserted or reordered, the framework may associate existing component state with the wrong item.
A stable identifier is generally better:
items.map(item => (
  <Row key={item.id} item={item} />
))
Symptoms of identity problems include:
- Input values moving between rows
- Incorrect expanded state
- Focus jumping
- Animations applying to the wrong item
- Stale content remaining after sorting
Inspect both the DOM and framework component identity.
Step 21: Inspect Accessibility Information
A control may exist visually but still be unusable by keyboard or assistive technology.
Inspect:
- Computed role
- Accessible name
aria-*attributes- Label relationships
- Focusability
- Disabled state
- Accessibility-tree inclusion
Common problems include:
- Button represented by a non-interactive
div - Input without a label
aria-hidden="true"on an interactive ancestor- Incorrect
tabindex - Duplicate IDs used by
aria-labelledby - Hidden dialog content still focusable
- Visible control missing an accessible name
Chrome DevTools includes accessibility information for selected DOM elements.
Manual keyboard and screen-reader testing are still required.
Step 22: Analyze DOM Performance Separately
A structurally correct DOM can still perform poorly.
Potential problems include:
- Excessive node counts
- Deep nesting
- Frequent subtree replacement
- Repeated layout reads and writes
- Large hidden components
- Too many event listeners
- Detached nodes retained in memory
Use:
- Performance panel
- Performance Monitor
- Memory panel
- Heap snapshots
- Rendering overlays
Do not conclude that a large DOM is the cause solely because the page is slow. Measure JavaScript, layout, paint, memory, and network activity.
Useful Console Commands
Inspect the selected element
$0Copy its HTML in Chromium DevTools
copy($0.outerHTML)Check whether it is connected
$0.isConnectedInspect its classes
[...$0.classList]Display computed styles
getComputedStyle($0)Inspect a specific computed value
getComputedStyle($0).displayMeasure geometry
$0.getBoundingClientRect()Find the closest matching ancestor
$0.closest("[data-component]")Check the number of matching elements
document.querySelectorAll(
  ".product-card"
).length
Determine the element at a coordinate
document.elementFromPoint(100, 200)Find elements containing duplicate IDs
[...document.querySelectorAll("[id]")]
  .filter((element, index, all) =>
    all.findIndex(
      candidate =>
        candidate.id === element.id
    ) !== index
  );
Some helpers such as $0, copy(), and getEventListeners() are DevTools-specific and should not be used in production JavaScript.
Real-World Example: A Visible Button Does Not Respond
Suppose a checkout button appears but clicking it has no effect.
1. Confirm the correct element
$0.outerHTMLThe selected element is the expected button.
2. Check disabled state
$0.disabledIt returns false.
3. Check pointer behavior
getComputedStyle($0).pointerEventsIt returns auto.
4. Check which element receives the pointer
const rect = $0.getBoundingClientRect();

document.elementFromPoint(
  rect.left + rect.width / 2,
  rect.top + rect.height / 2
);
The result is:
<div class="loading-overlay"></div>Root cause
A transparent loading overlay remains over the checkout form after an API request completes.
Fix
Correct the application state so the overlay is removed or stops intercepting pointer events after loading finishes.
The problem was not:
- A missing event listener
- Incorrect button HTML
- Loading order
- A broken selector
A structured investigation prevented unnecessary code changes.
Efficient DOM Debugging Workflow
Structure
- Is the expected element present?
- Is it in the correct document or frame?
- Is it inside shadow DOM?
- Is the browser correcting invalid markup?
- Are IDs unique?
- Is the parent-child hierarchy correct?
Visibility
- Does it have a layout box?
- Is it transparent?
- Is it clipped?
- Is it outside the viewport?
- Is another element covering it?
- Is a pseudo-element involved?
Selection
- Does the selector match?
- Does it match more than one element?
- Is the query executed at the correct time?
- Is it scoped to the correct component?
Interaction
- Is a listener attached?
- Does the event reach the expected target?
- Is propagation stopped?
- Is the control disabled?
- Does an overlay intercept the pointer?
- Was the node replaced?
Dynamic behavior
- Which code changes the element?
- Can a DOM breakpoint reveal the caller?
- Is a MutationObserver appropriate?
- Is framework state responsible?
- Does navigation destroy and recreate the component?
Validation
- Does the fix work across viewports?
- Does keyboard interaction work?
- Is the accessibility tree correct?
- Does the fix survive rerendering?
- Are related components unaffected?
Common DOM Debugging Mistakes
Editing source code before inspecting the live page
First verify what the browser actually rendered.
Assuming an absent visual element is absent from the DOM
It may be hidden, clipped, transparent, or off-screen.
Assuming every click problem is an event-listener problem
Overlays, disabled controls, pointer-event rules, and stopped propagation are common alternatives.
Adding arbitrary delays
This hides lifecycle problems:
setTimeout(initialize, 1000);Prefer deterministic rendering or lifecycle signals.
Rebinding listeners after every render
This can create duplicate handlers. Use framework bindings, cleanup functions, or event delegation.
Observing the entire document indefinitely
Broad MutationObservers can create noise and performance problems.
Ignoring shadow DOM and iframes
Normal document selectors do not automatically cross these boundaries.
Using z-index: 999999
A large value does not necessarily escape a stacking context and may create new problems.
Treating the DOM as the complete application state
Framework state, network data, timers, caches, and server responses may be the real source of the issue.
Frequently Asked Questions
Why does the Elements panel differ from View Source?
View Source shows the original HTML response. The Elements panel shows the live DOM after browser parsing and runtime changes.
Why does querySelector() return null when I can see the element?
The element may be inside an iframe or shadow root, rendered later, already replaced, or queried from the wrong document.
Why does a visible button not receive clicks?
It may be disabled, covered by another element, affected by pointer-events, or interrupted by event propagation logic.
Does removing an element also remove its listeners?
If the element and its listeners become unreachable, they can normally be garbage-collected. A leak occurs when another live reference continues retaining them.
Should I use MutationObserver for every dynamic component?
No. Use normal framework lifecycles and state updates for application behavior. MutationObserver is appropriate when observing DOM mutations is genuinely required.
Does event delegation always solve dynamic-list problems?
No. It helps when events bubble and a stable ancestor exists. It does not solve incorrect state, non-bubbling events, shadow-boundary behavior, or covered controls.
Final Thoughts
Efficient DOM debugging is not about randomly changing HTML or adding more console logs.
Use a structured process:
- Reproduce the exact issue.
- Inspect the live element.
- Verify its hierarchy and identity.
- Check computed styles and geometry.
- Test selectors independently.
- Inspect listeners and event propagation.
- Use DOM breakpoints for unexpected changes.
- Account for shadow DOM, iframes, and frameworks.
- Validate accessibility and cross-browser behavior.
- Confirm the root cause before modifying code.
The most useful question is not simply:
Is the element in the DOM?
Ask instead:
Which browser representation or application process explains the behavior I am seeing?
That distinction turns DOM debugging from guesswork into a repeatable engineering process.
Try Next
Other utilities you might find helpful
Regex Tester
Test and debug regular expressions with live matches.
Regex Debugger
Understand regex step-by-step with explanations.
JSON Formatter
Format, validate, and minify JSON instantly.
Base64 Encoder/Decoder
Encode and decode Base64 strings and files.
SQL Explain Parser
Analyze SQL execution plans and optimize queries.
DOM Complexity Analyzer
Analyze HTML DOM structure, detect deep nesting, count nodes, and identify performance issues instantly.